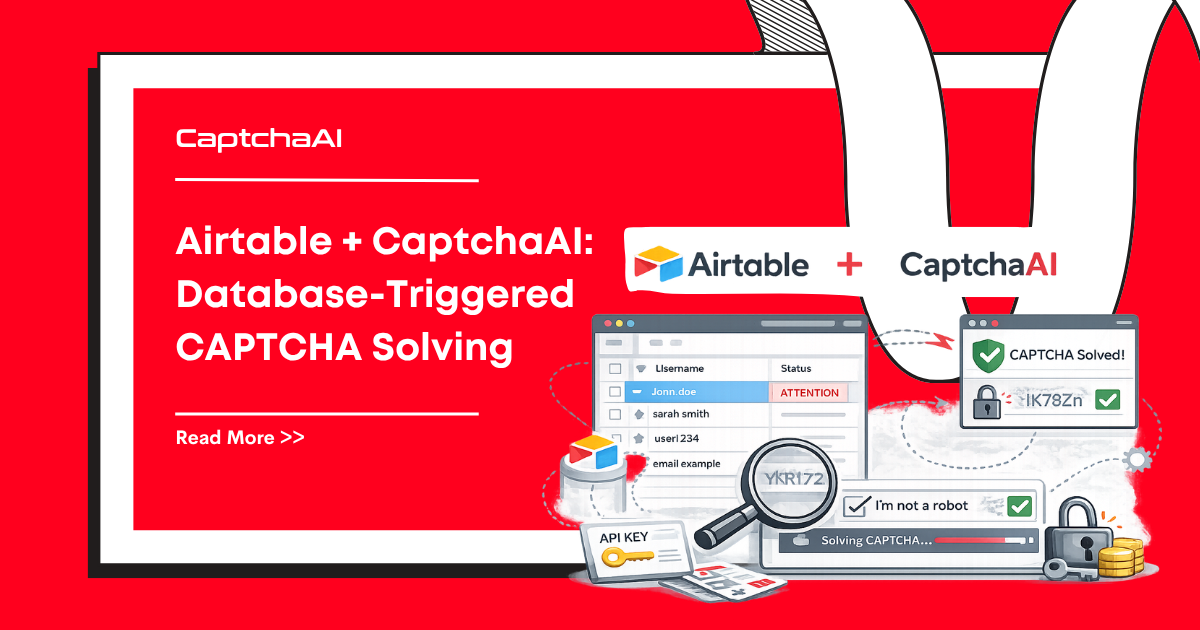
Airtable is a flexible database platform used for project management, data collection, and workflow automation. When your Airtable workflow needs to interact with CAPTCHA-protected services — submitting forms, processing URLs, or automating data entry — CaptchaAI can solve the CAPTCHAs directly from Airtable using its Automations and Scripting extensions.
This guide shows how to set up Airtable Automations that trigger CAPTCHA solving via CaptchaAI when new records are created or updated.
Real-World Scenario
You track target URLs in an Airtable table. Each URL has a CAPTCHA that needs solving before data can be extracted. When a new URL is added:
- An Airtable Automation detects the new record
- A script submits the CAPTCHA parameters to CaptchaAI
- CaptchaAI returns the solved token
- The token is saved back to the Airtable record
Table Structure
Create an Airtable table called CAPTCHA Tasks with these fields:
| Field Name | Type | Purpose |
|---|---|---|
| URL | URL | Target page URL |
| Sitekey | Single line text | reCAPTCHA sitekey |
| Status | Single select | pending, solving, solved, failed |
| Token | Long text | Solved CAPTCHA token |
| Solved At | Date/time | Timestamp of solve |
| Error | Single line text | Error message if failed |
Step 1: Create the Automation
In Airtable:
- Go to Automations tab
- Click Create automation
- Name it: "Solve CAPTCHA on New Record"
Trigger
Choose When record matches conditions:
- Table: CAPTCHA Tasks
- Condition: Status is "pending"
This triggers whenever a record is set to "pending" — covering both new records and re-solves.
Step 2: Add the Script Action
Add an action → Run a script:
// Airtable Automation Script — Solve CAPTCHA via CaptchaAI

// Input configuration (set in the left panel):
// - recordId: Record ID from trigger
// - sitekey: Sitekey field from trigger
// - pageurl: URL field from trigger
const config = input.config();
const recordId = config.recordId;
const sitekey = config.sitekey;
const pageurl = config.pageurl;

const API_KEY = 'YOUR_API_KEY'; // Use input.config() for security

// Update status to "solving"
const table = base.getTable('CAPTCHA Tasks');
await table.updateRecordAsync(recordId, {
  'Status': { name: 'solving' },
});

try {
  // Step 1: Submit task to CaptchaAI
  const submitUrl = `https://ocr.captchaai.com/in.php?key=${API_KEY}&method=userrecaptcha&googlekey=${encodeURIComponent(sitekey)}&pageurl=${encodeURIComponent(pageurl)}&json=1`;

  const submitResponse = await fetch(submitUrl);
  const submitResult = await submitResponse.json();

  if (submitResult.status !== 1) {
    throw new Error(`Submit failed: ${submitResult.request}`);
  }

  const taskId = submitResult.request;
  console.log(`Task submitted: ${taskId}`);

  // Step 2: Poll for result (wait 15 seconds first)
  await new Promise(resolve => setTimeout(resolve, 15000));

  let token = null;
  for (let i = 0; i < 20; i++) {
    const pollUrl = `https://ocr.captchaai.com/res.php?key=${API_KEY}&action=get&id=${taskId}&json=1`;
    const pollResponse = await fetch(pollUrl);
    const pollResult = await pollResponse.json();

    if (pollResult.status === 1) {
      token = pollResult.request;
      break;
    }

    if (pollResult.request !== 'CAPCHA_NOT_READY') {
      throw new Error(`Solve failed: ${pollResult.request}`);
    }

    await new Promise(resolve => setTimeout(resolve, 5000));
  }

  if (!token) {
    throw new Error('Polling timeout — CAPTCHA not solved in time');
  }

  // Step 3: Update record with solved token
  await table.updateRecordAsync(recordId, {
    'Status': { name: 'solved' },
    'Token': token,
    'Solved At': new Date().toISOString(),
    'Error': '',
  });

  console.log(`CAPTCHA solved for record ${recordId}`);

} catch (error) {
  // Update record with error
  await table.updateRecordAsync(recordId, {
    'Status': { name: 'failed' },
    'Error': error.message,
  });
  console.error(`Failed: ${error.message}`);
}
Configure Script Inputs
In the script action's left panel, map the input variables:
recordId→ Record ID from trigger stepsitekey→ Sitekey field from trigger steppageurl→ URL field from trigger step
Step 3: Batch Processing with Scripting Extension
For processing many records at once, use Airtable's Scripting extension (available in the Apps panel):
// Batch CAPTCHA Solver — Airtable Scripting Extension
const API_KEY = 'YOUR_API_KEY';
const table = base.getTable('CAPTCHA Tasks');

// Get all pending records
const query = await table.selectRecordsAsync({
  fields: ['URL', 'Sitekey', 'Status'],
});

const pendingRecords = query.records.filter(
  r => r.getCellValueAsString('Status') === 'pending'
);

output.text(`Found ${pendingRecords.length} pending CAPTCHAs`);

for (const record of pendingRecords) {
  const sitekey = record.getCellValueAsString('Sitekey');
  const pageurl = record.getCellValueAsString('URL');

  if (!sitekey || !pageurl) {
    output.text(`Skipping ${record.id} — missing sitekey or URL`);
    continue;
  }

  output.text(`Solving for: ${pageurl}`);

  await table.updateRecordAsync(record.id, {
    'Status': { name: 'solving' },
  });

  try {
    // Submit
    const submitResp = await fetch(
      `https://ocr.captchaai.com/in.php?key=${API_KEY}&method=userrecaptcha&googlekey=${encodeURIComponent(sitekey)}&pageurl=${encodeURIComponent(pageurl)}&json=1`
    );
    const submitData = await submitResp.json();

    if (submitData.status !== 1) throw new Error(submitData.request);

    // Poll
    await new Promise(r => setTimeout(r, 15000));
    let token = null;

    for (let i = 0; i < 20; i++) {
      const pollResp = await fetch(
        `https://ocr.captchaai.com/res.php?key=${API_KEY}&action=get&id=${submitData.request}&json=1`
      );
      const pollData = await pollResp.json();

      if (pollData.status === 1) { token = pollData.request; break; }
      if (pollData.request !== 'CAPCHA_NOT_READY') throw new Error(pollData.request);
      await new Promise(r => setTimeout(r, 5000));
    }

    if (!token) throw new Error('Timeout');

    await table.updateRecordAsync(record.id, {
      'Status': { name: 'solved' },
      'Token': token,
      'Solved At': new Date().toISOString(),
    });
    output.text(`✓ Solved: ${pageurl}`);

  } catch (e) {
    await table.updateRecordAsync(record.id, {
      'Status': { name: 'failed' },
      'Error': e.message,
    });
    output.text(`✗ Failed: ${e.message}`);
  }
}

output.text('Batch processing complete');
Troubleshooting
| Problem | Cause | Fix |
|---|---|---|
| Automation doesn't trigger | Record doesn't match "pending" condition | Verify Status field value matches exactly |
fetch is not defined |
Airtable Scripting uses remoteFetchAsync in some contexts |
Try remoteFetchAsync instead of fetch |
| Script timeout | Airtable scripts have a 30-second limit for automations | Use fewer polling iterations; increase initial wait to 20 seconds |
| Record update fails | Field name mismatch | Ensure field names in updateRecordAsync match table exactly |
| API key exposed in script | Hardcoded API key | Use input.config() with a secret input variable |
FAQ
What's the script execution time limit in Airtable?
Automation scripts: 30 seconds. Scripting extension: 30 seconds (but can be extended with Pro plans). For long polling, increase the initial wait and reduce iterations.
Can I use this for Image CAPTCHAs too?
Yes. Change method to base64 and submit the image data. You can store base64-encoded CAPTCHA images in Airtable Attachment fields and extract them in the script.
How do I handle the API key securely?
In Automations, use input variables configured in the script settings panel. In the Scripting extension, you can prompt for the key at runtime with input.textAsync().
Can I re-solve failed CAPTCHAs?
Yes. Set the Status back to "pending" and the automation will re-trigger. Add a retry counter field to limit retries.
Related Articles
- How To Solve Recaptcha V2 Callback Using Api
- Recaptcha V2 Turnstile Same Site Handling
- Recaptcha V2 Callback Mechanism
Next Steps
Automate CAPTCHA solving from your Airtable databases — get your CaptchaAI API key and set up the automation.
Related guides:
- Google Apps Script + CaptchaAI
- Zapier + CaptchaAI: No-Code CAPTCHA Solving
- Make (Integromat) + CaptchaAI
Full Working Code
Complete runnable examples for this article in Python, Node.js, PHP, Go, Java, C#, Ruby, Rust, Kotlin & Bash.
View on GitHub →


Discussions (0)
Join the conversation
Sign in to share your opinion.
Sign InNo comments yet.